


In this comprehensive guide, we will assist you in understanding the various types of wall insulation, the factors to weigh when selecting insulation, the pros and cons of DIY versus professional installation, and the installation process itself.
Moreover, we will offer insights into the advantages and disadvantages of each installation approach to help you make a well-informed decision. If you’re considering installing wall insulation in your home or commercial space, continue reading to discover how to choose the ideal wall insulation tailored to your needs.
Choosing the Right Wall Insulation
To maintain comfortable indoor temperatures and reduce energy costs, selecting the proper wall insulation is crucial. Several types of wall insulation are available, each with its own unique characteristics and advantages.
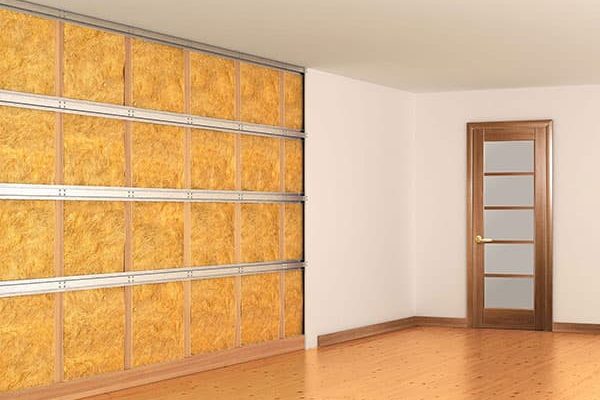
Batts
Batt insulation consists of pre-cut segments made from fiberglass, mineral wool, or cotton. These sections are designed to fit snugly between wall studs and are available in various thicknesses and widths to accommodate different wall cavities.
R-value: R-3 to R-4 per inch (depending on the material)
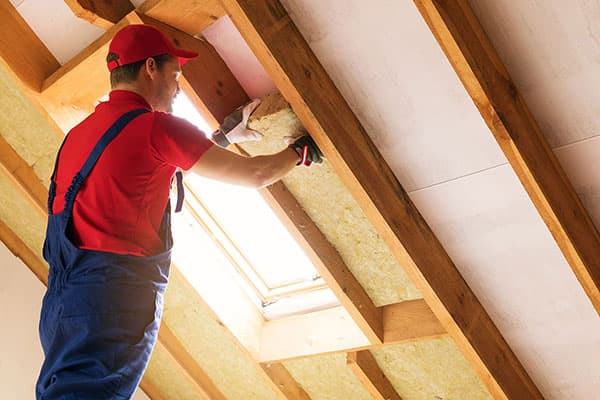
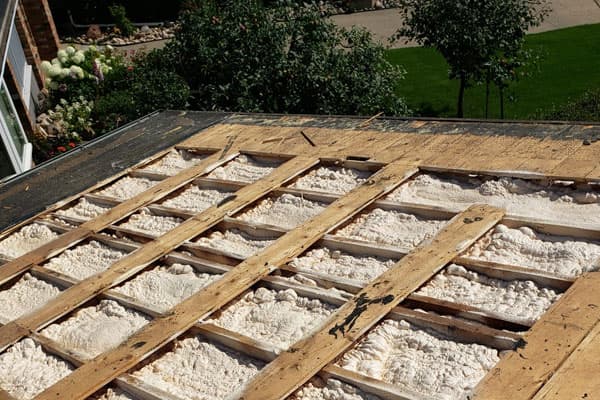
Blown-In
Blown-in insulation is composed of small particles of cellulose, fiberglass, or mineral wool. These particles are blown into wall cavities using specialized equipment, creating a dense, continuous layer of insulation that fills gaps and prevents air leakage.
R-value: R-3.2 to R-3.8 per inch (depending on the material)
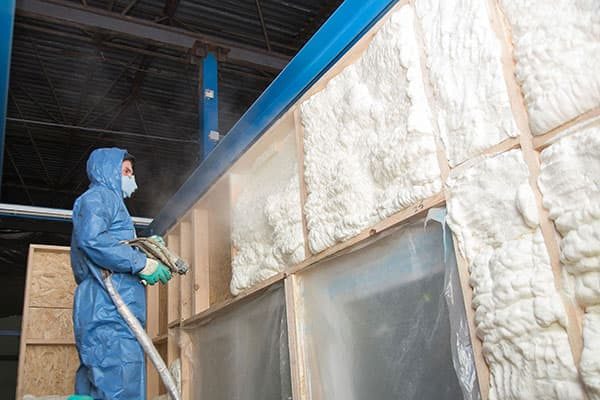
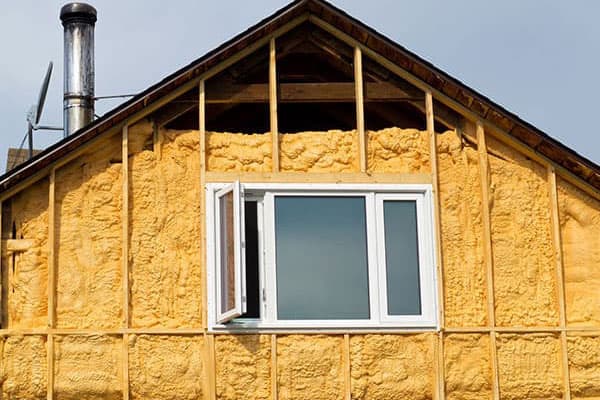
Spray Foam
Spray foam insulation is formed by mixing two components on-site, resulting in a lightweight, expanding foam. Applied to wall cavities using a spray nozzle, the foam hardens to create a continuous, airtight layer of insulation.
R-value: R-3.5 to R-6.5 per inch (depending on the type of spray foam)
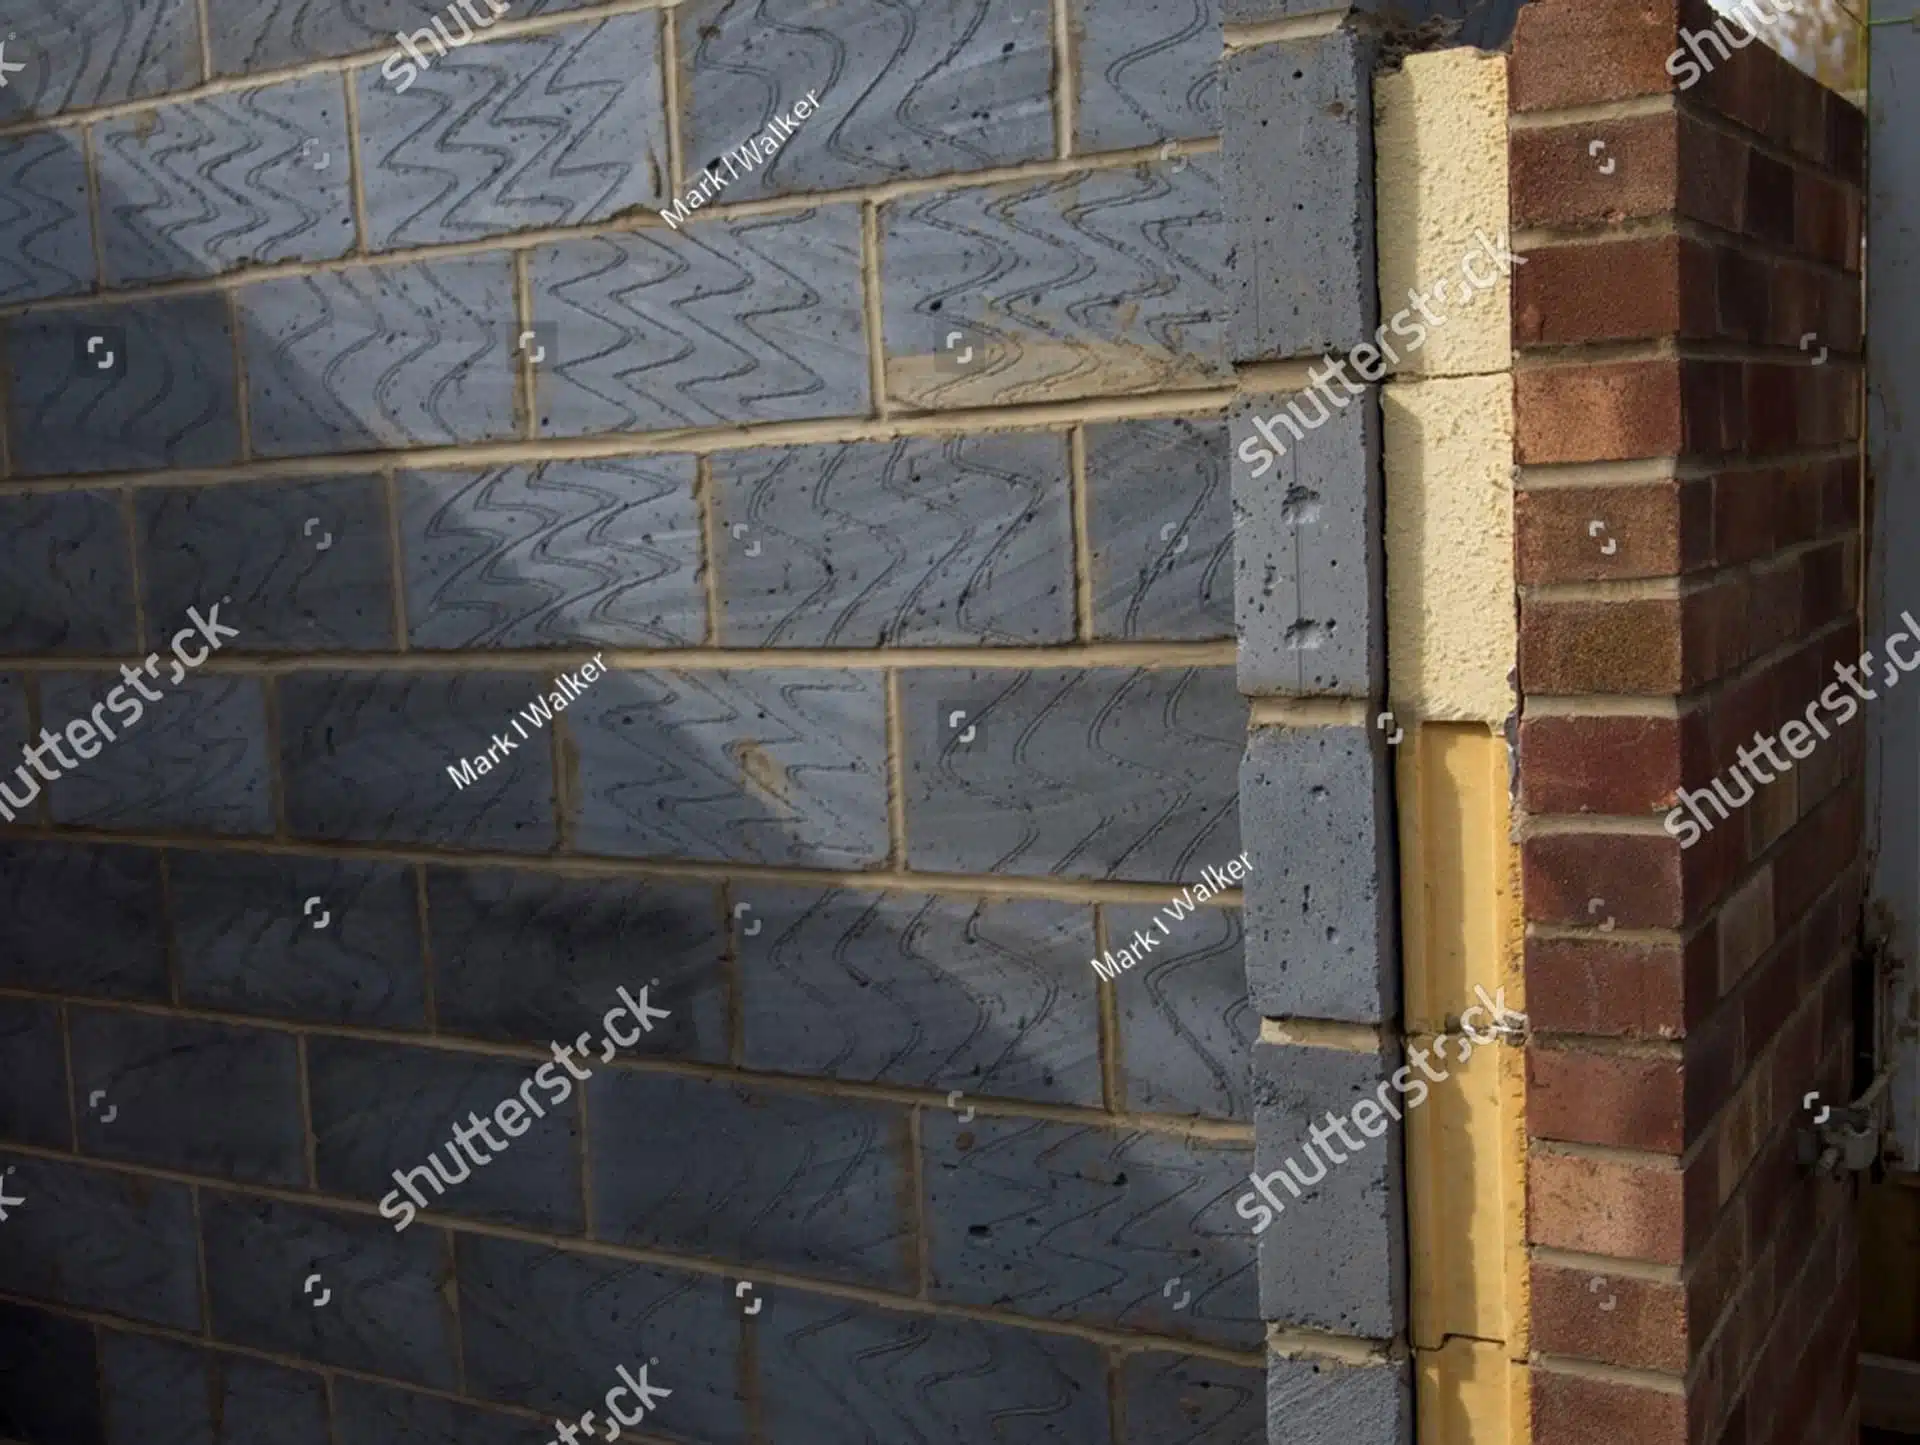
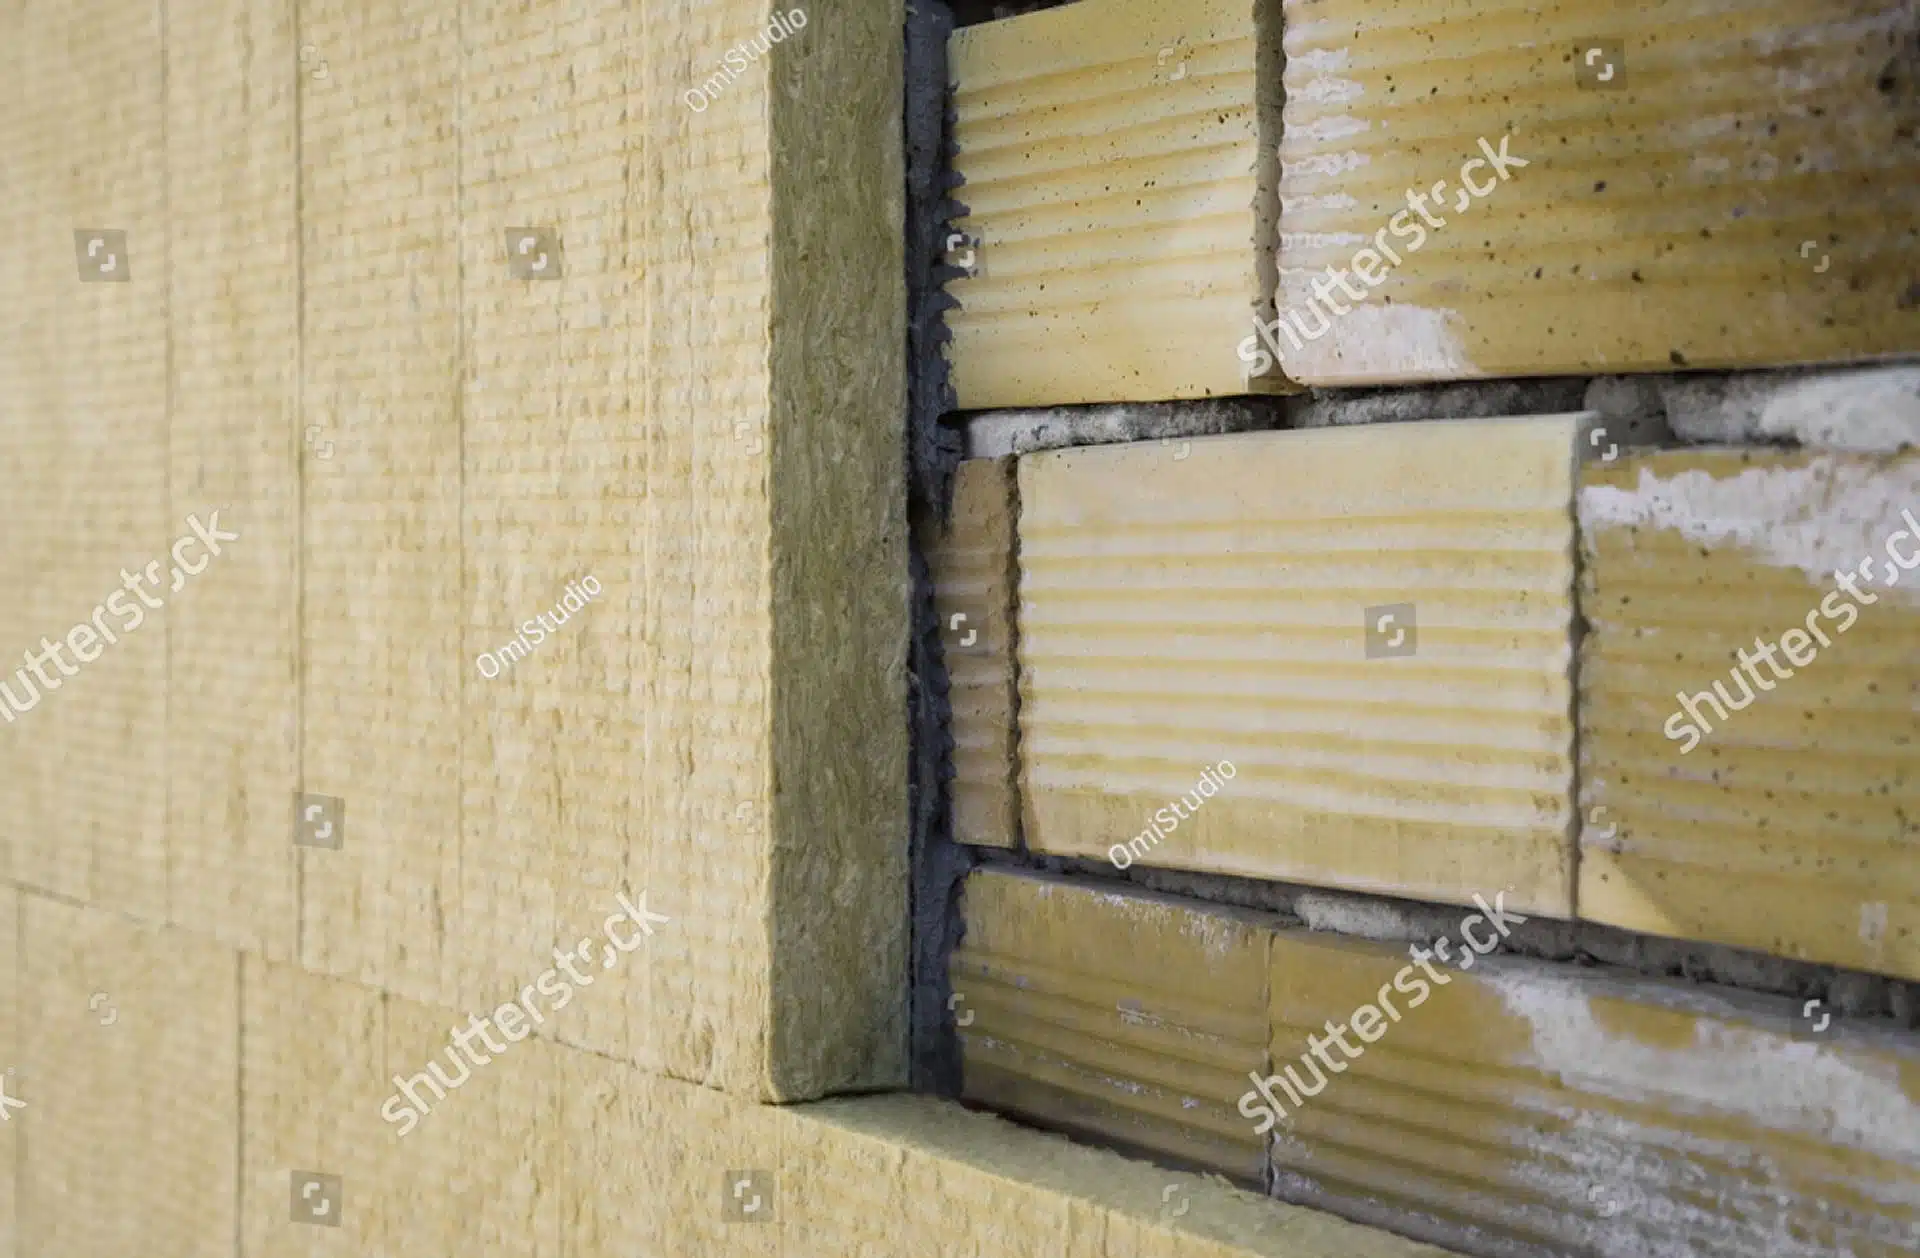
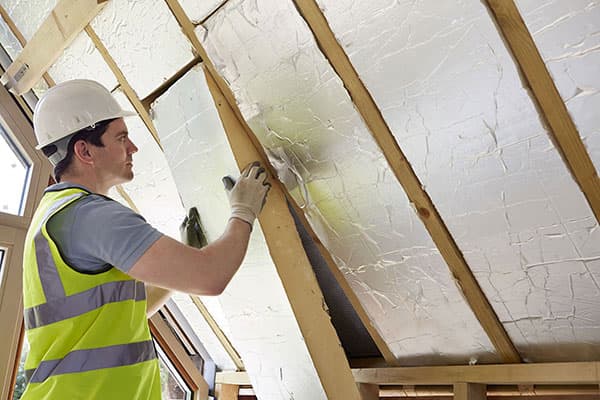
Rigid Foam
Rigid foam insulation is manufactured from polystyrene, polyisocyanurate, or polyurethane, and comes in large, lightweight boards. These boards can be custom-cut to fit between wall studs or installed on the exterior of a building to provide an additional layer of insulation.
R-value: R-4 to R-6.5 per inch (depending on the material)
Factors to Consider When Choosing Wall Insulation
When it comes to choosing wall insulation for your home or building, several factors should be considered to ensure the best possible choice.
1. Climate and Location
The climate and location of your property play a crucial role in determining the appropriate type and level of wall insulation required. Different insulation materials perform better in specific climates, and understanding your local climate conditions will help you make an informed decision.
2. Budget
The cost of insulation materials and installation can vary greatly, so assessing your budget is essential before deciding. While some materials may be more expensive upfront, they often offer better long-term savings due to increased energy efficiency. Balancing the initial cost with the potential energy savings and overall return on investment is crucial.
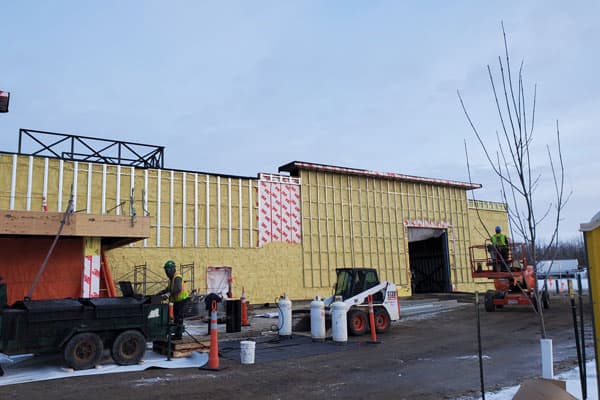
3. Type of Construction
The type of construction you have in your home or building will also influence the insulation options available. Consider the following:
- New construction: You can choose the most appropriate insulation materials and methods during the design phase of new buildings. This allows for seamless integration and optimal energy efficiency.
- Existing buildings: For existing buildings, accessibility to wall cavities and the overall structure may limit your insulation options. Retrofitting insulation may require more invasive methods, like blown-in insulation, which can be more expensive.
4. Health and Safety Considerations
Lastly, it's essential to consider various insulation materials' health and safety aspects. Some products, like fiberglass, can cause skin irritation, while others, such as spray foam, may release harmful chemicals during installation. Be sure to consult a professional to understand the potential health risks of each insulation material and choose one that aligns with your priorities and concerns.

DIY vs. Professional Installation
When installing new fixtures and appliances or making home improvements, homeowners must do it themselves (DIY) or hire a professional. Both options have their advantages and disadvantages, and the right choice ultimately depends on various factors such as cost, time, and skill level.
Pros and Cons of DIY Installation
Pros
- Cost savings: One of the most significant advantages of DIY installation is the potential for cost savings. You can avoid labor expenses associated with hiring a professional by doing the work yourself.
- Personal satisfaction: Completing a project alone can provide a sense of accomplishment and pride in your handiwork.
- Customization: DIY installation allows you to tailor the project to your specifications, ensuring the result meets your unique needs and preferences.
Cons
- Time-consuming: DIY projects can be labor-intensive and require a significant time commitment, especially for those with little experience.
- Risk of errors: Without professional expertise, there is a higher likelihood of making mistakes, which can lead to additional costs or even damage to your property.
- Limited warranty: Many manufacturers offer limited or no warranty coverage for self-installed products, potentially leaving you without recourse if issues arise.
Benefits of Professional Installation
- Expertise: Professionals have the experience and training to ensure installations are done correctly, minimizing the risk of errors and potential damage.
- Time savings: Hiring a professional can significantly reduce the time it takes to complete a project, allowing you to focus on other tasks or enjoy the finished product sooner.
- Warranty protection: Professional installation often comes with warranty coverage, providing peace of mind and protection against potential issues.
- Safety: Professionals are familiar with safety protocols and can identify potential hazards, reducing the risk of injury or property damage.
Comparison of Costs
When comparing the costs of DIY vs. professional installation, it is essential to consider both the upfront expenses and potential long-term costs. While DIY installation may save money initially, errors or subpar work can lead to additional repair or replacement costs. On the other hand, professional installation may have higher upfront costs but can provide long-term value through expert workmanship and warranty coverage.
Wall Insulation Installation Process
The installation process for wall insulation involves the following steps:
- Assessing your home's insulation needs
- Choosing the right type of insulation
- Preparing the work area
- Installing the insulation
- Sealing any gaps and air leaks
- Checking for proper insulation coverage and quality
Each step is critical to ensuring a successful insulation installation that provides maximum energy savings and comfort.
Preparation Before Installation
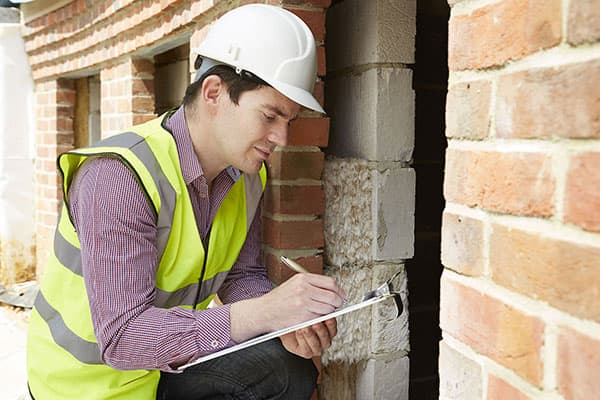
Before installing wall insulation, it's important to take the following preparatory steps:
- Determine your home's insulation needs: Consult with a professional energy auditor or contractor to assess your home's current insulation levels and identify areas where additional insulation is needed.
- Choose the suitable insulation material: There are several types of insulation available, including fiberglass, mineral wool, cellulose, and spray foam. Research the pros and cons of each material and select the one that best meets your needs and budget.
- Gather the necessary tools and materials: You will need a utility knife, measuring tape, a straightedge, and a staple gun. Additionally, gather materials like insulation batts, vapor barriers, and caulking or foam sealant for sealing gaps and air leaks.
Step-by-Step Guide for Installation
Follow these steps to install wall insulation successfully:
- Clean the work area: Remove any debris, dust, or obstructions from the walls and surrounding area.
- Install a vapor barrier (if needed): In colder climates, a vapor barrier may be necessary to prevent moisture buildup within the wall cavity. Install the vapor barrier according to the manufacturer's instructions.
- Measure and cut insulation batts: Measure the height and width of the wall cavities and cut insulation batts to fit snugly between the wall studs.
- Install insulation batts: Starting at the top of the wall cavity, insert them between the studs, ensuring they are flush against the wall and fit snugly. Try not to compress the insulation, as this can diminish its effectiveness.
- Seal gaps and air leaks: Use caulking or foam sealant to seal any gaps or air leaks around windows, doors, pipes, and electrical outlets.
- Install a second layer of insulation (if needed): Sometimes, a second layer may be necessary for optimal energy efficiency. If this is the case, install the second layer perpendicular to the first layer, ensuring no gaps between the insulation layers.
- Inspect the installation: Check for proper insulation coverage and quality, ensuring no gaps or compressed areas could compromise the insulation's effectiveness.
By following the steps outlined in this guide, you can successfully install wall insulation and enjoy the benefits of a more comfortable, energy-efficient home.
Conclusion
In conclusion, choosing the perfect wall insulation for your home is paramount for ensuring the highest level of indoor comfort and significantly reducing energy costs. A variety of wall insulation alternatives are available, such as batts, blown-in, spray foam, and rigid foam.
When selecting the most suitable wall insulation, it's essential to take into account factors including regional climate, budget, construction type, health and safety concerns, and the decision between a DIY or professional installation.
The installation process involves a thorough assessment of your home's insulation needs, choosing the most appropriate insulation type, preparing the designated area, skillfully installing the insulation, sealing any potential gaps or air leaks, and confirming the insulation's coverage and quality.
By investing in the right wall insulation, homeowners can attain exceptional energy efficiency and overall comfort. To accurately evaluate your home's insulation requirements, it is strongly advised to seek the expertise of a professional energy auditor or contractor.
Frequently Asked Questions
About Wall Insulation in Edmonton, AB
Proinsulate Service Areas
Our team works in Edmonton and surrounding areas including Stony Plain, Spruce Grove, St. Albert, Sherwood Park, Fort Saskatchewan, and Leduc. If you have any questions about an insulation project in your area, don’t hesitate to reach out to our team.
CITIES WE SERVE
COMMUNITIES WE SERVE
COMMUNITIES WE SERVE
COMMUNITIES WE SERVE
What Our Clients Say


Similar Insulation Services

A flexible insulation and sealer that provides a continuous barrier on many surfaces in houses and buildings, including ceilings, walls, and concrete slabs


A cost-effective way to insulate walls and ceilings, this insulation can provide energy savings with a lower cost for initial installation compared to other methods

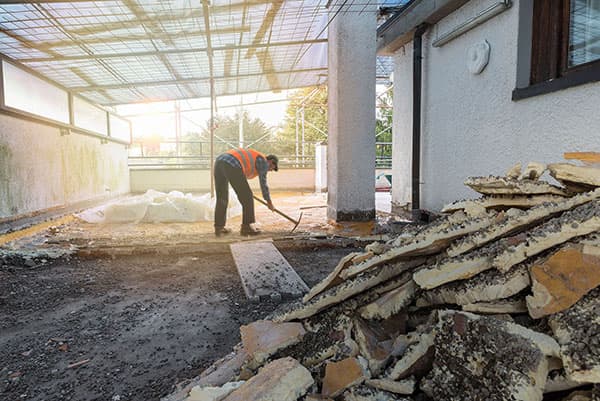
Old insulation can contain asbestos, mold, mildew, rodent droppings, and other toxins that require proper removal protocols

Our team specializes in assessing and installing all kinds of insulation, residential, commercial, and industrial.

Meeting commercial or residential soundproofing needs can easily be accomplished with spray foam insulation

With our firestopping insulation products and experience with firestopping materials, we can consult with you to find the best solution for your property

Choosing and sourcing the right products for your fireproofing requirements is no challenge for our team

Create a safe and effective working environment with better thermal and fireproof protections, effective moisture and vapour barriers and reduce unnecessary noise pollution

A residential insulation upgrade can improve both new and old homes. Your HVAC system may be straining to keep your home at a comfortable temperature

Today’s insulation products offer a variety of safety benefits and when installed professionally the risks are very minimal
